This guide walks through the foundational setup needed before diving into podcast editing in Reaper. We’ll establish repeatable workflows through track templates and proper project configuration to maximize efficiency and minimize wasted storage space.
Prerequisites: Complete Part 1 - Setting Up Reaper first.
In This Guide
1. Creating Tracks and Adding Plugins
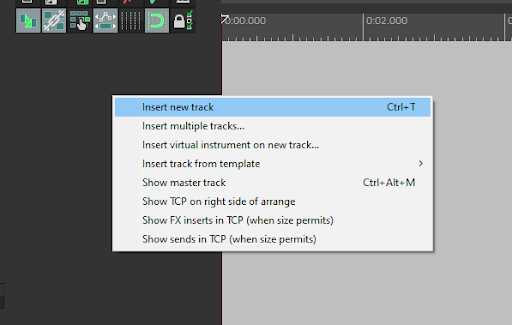
Insert new tracks using the right-click menu or Ctrl+T shortcut.
Key Setup Steps
- Disarm the record-ready button (red circle) since recording isn’t needed for editing
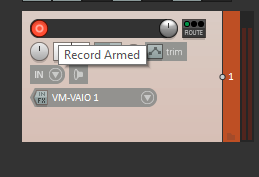
- Name tracks with speaker identifiers for clarity
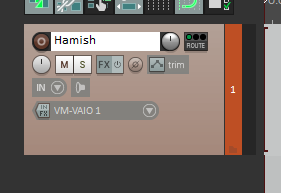
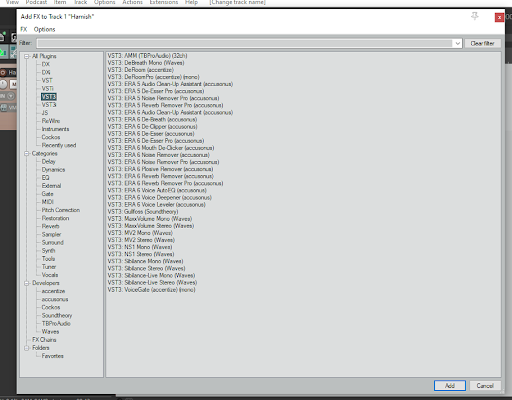
- Access the FX button to browse and add audio plugins from categories like VST, VST3, and by developer
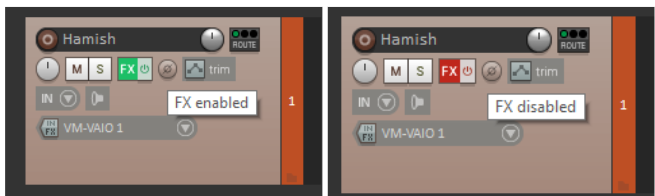
Tip: You can disable all plugins on a track in one go by clicking the power button icon attached to the FX button.
2. Creating an AMM Track Template
Build an automated mixing setup using TBProAudio’s AMM plugin alongside other processing tools. This template involves creating interconnected tracks for multi-speaker podcasts.
Track Structure
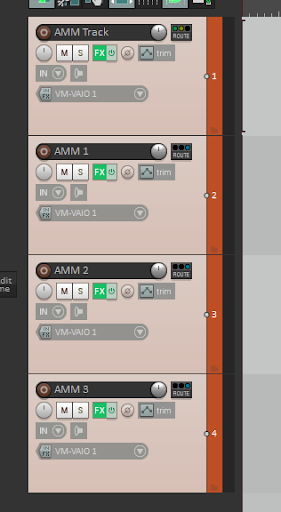
| Track Name | Purpose |
|---|---|
| AMM Track | Master processing chain |
| AMM 1 | Speaker 1 input |
| AMM 2 | Speaker 2 input |
| AMM 3 | Speaker 3 input (if needed) |
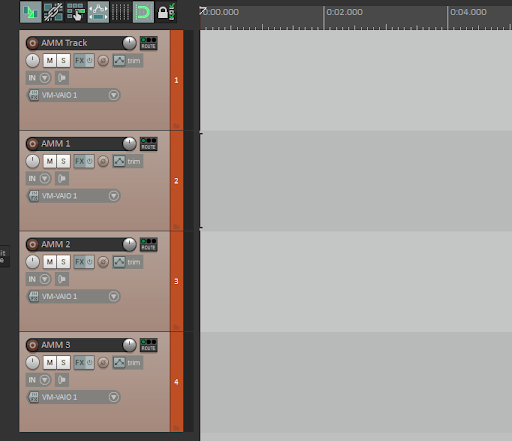
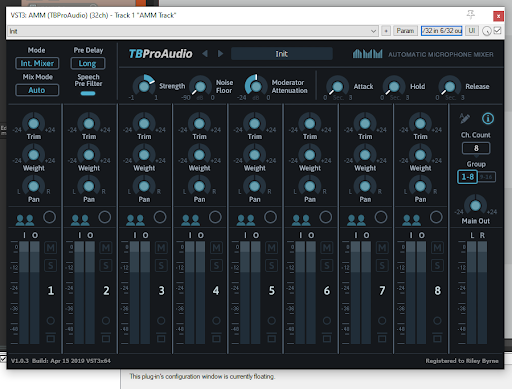
Plugin Stack for AMM Track
- AMM automixer — Automatically balances multiple speakers
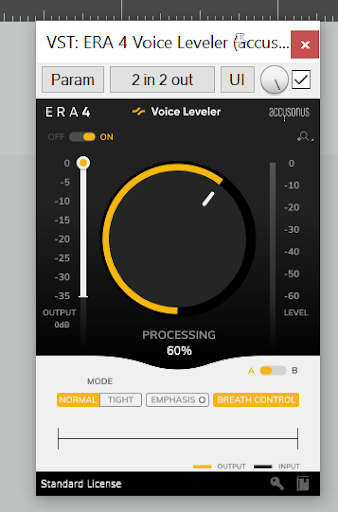
- ERA 4 Voice Leveler — Consistent vocal levels
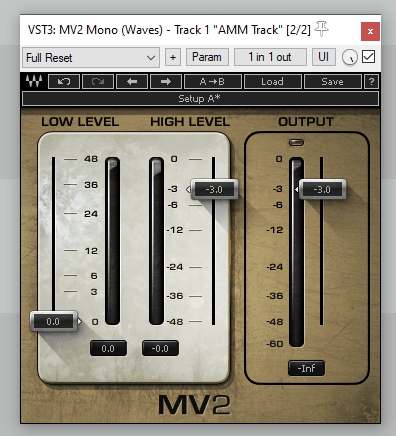
- MV2 Mono compressor — Dynamic range control
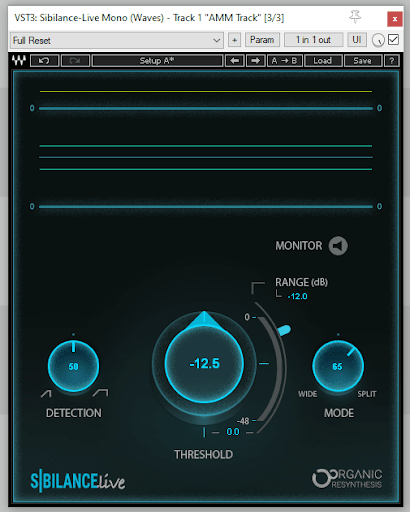
- Sibilance-Live Mono — De-essing
Individual Speaker Tracks
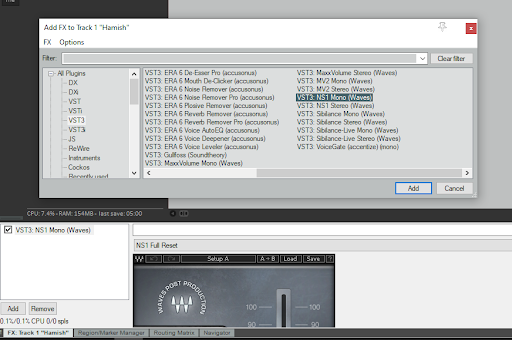
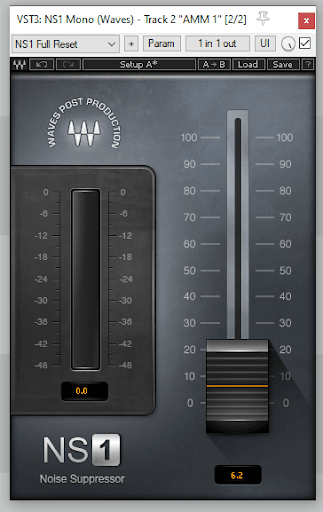
Add noise reduction (NS1 Mono or similar) to each numbered track.
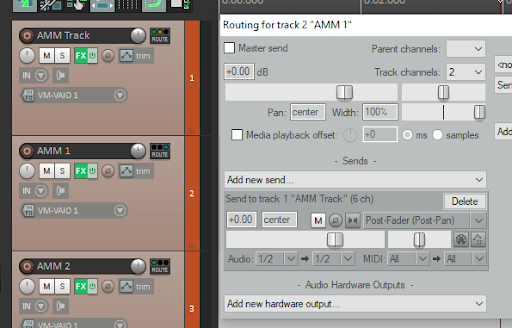
Routing Configuration
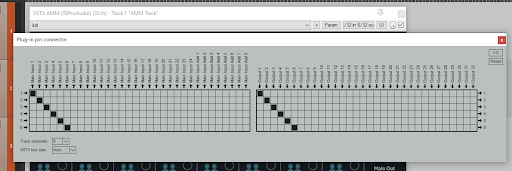
Route spoke tracks into the master using specific channel configurations. This design allows shared processing across multiple speaker tracks without duplication.
3. Saving Track Templates
Rather than rebuilding this setup for every project, save it as a reusable template:
- Highlight all tracks in your AMM setup
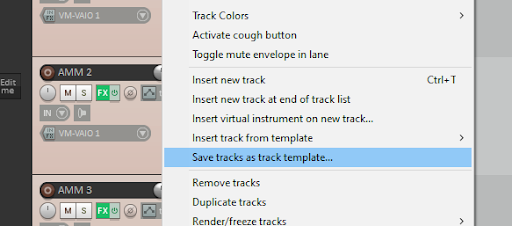
- Right-click and select “Save tracks as track template”
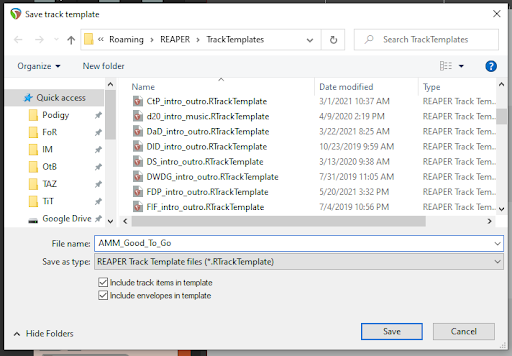
- Name it something memorable like “AMM_Good_To_Go”
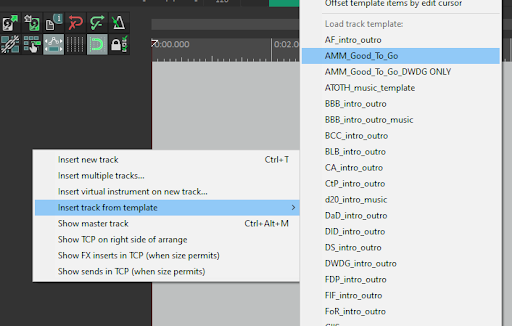
Future projects can summon these configurations instantly through Track > Insert track from template.
4. Synchronizing Tracks
Remote recordings often suffer from latency-induced desynchronization between speakers. Here’s how to fix it:
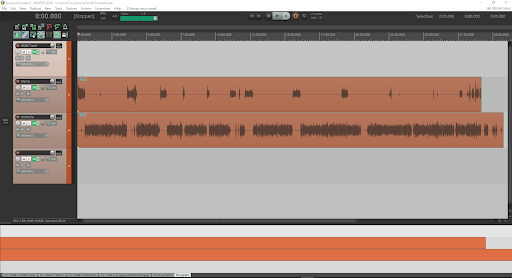
Manual Realignment Process
- Use Item: Split items at edit cursor (default shortcut: S) to break misaligned audio into smaller segments
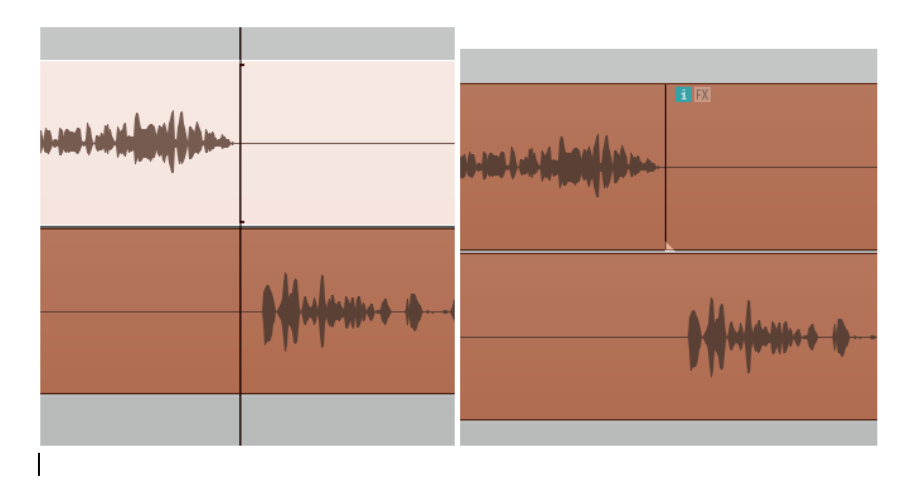
- Zoom in on a clear reference point (a laugh, word, or click)
- Drag audio items to align conversation flow
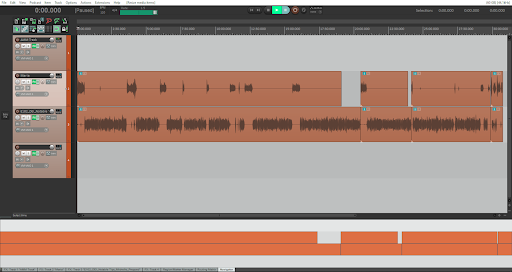
- Listen back to verify natural timing
Tips for Better Sync
- Look for sharp transients (p and t sounds) as alignment markers
- Don’t over-align—natural conversation has some overlap
- Check multiple points throughout the recording
5. Saving a Project File
Conclude your workflow by saving the project properly:
- Go to File > Save project as… or press Ctrl+Shift+S
- Choose a clear naming convention (e.g., “ClientName_EpisodeNumber_Date”)
- Consider storage optimization settings for large projects
Project Organization Tips
- Create a dedicated folder for each podcast series
- Keep raw audio, project files, and exports organized
- Use consistent naming across all files
Summary
With track templates and proper project configuration, you’ve established repeatable workflows that will save hours over the course of your podcast. The initial setup investment pays dividends on every single episode.
Next: Part 3 - How to Edit a Podcast
Want professional editing without the setup? Learn how Podigy handles production so you can focus on your content.