This guide continues our Reaper podcast editing series, focusing on fundamental techniques for editing after you’ve configured your setup and synchronized tracks. Editing is both an art and science requiring hands-on experience—these techniques will accelerate your learning.
Prerequisites: Complete Part 1 and Part 2 first.
In This Guide
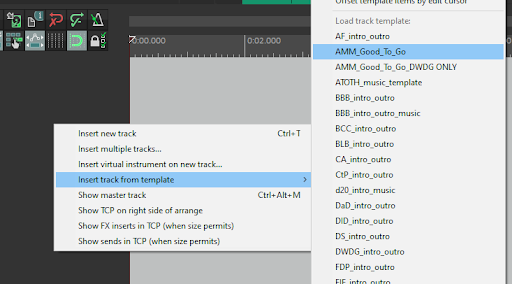
1. Volume Normalization and Dead Air Removal
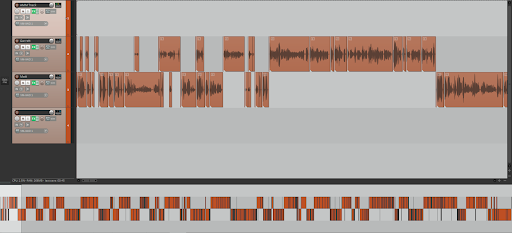
The dead air removal script we created in Part 1 performs three critical functions:
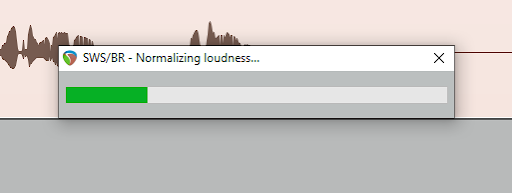
- Normalizing volume across tracks
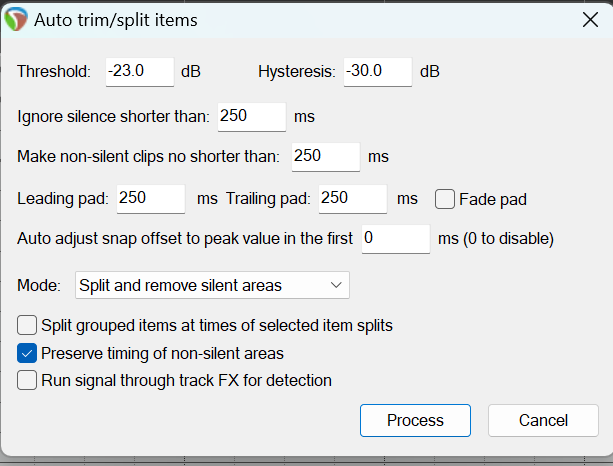
- Isolating silent moments based on time and volume parameters
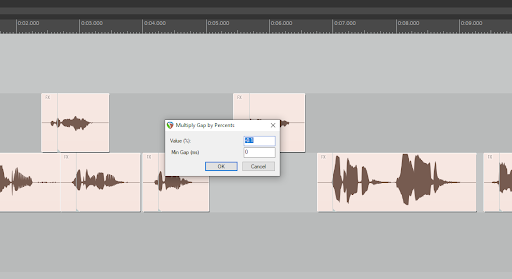
- Removing resulting gaps automatically
Process
- Select both speaker tracks using Shift+Click
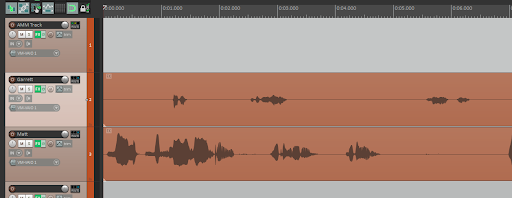
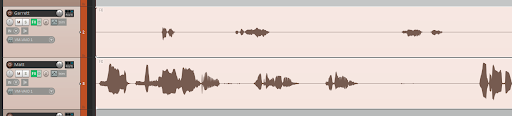
- Run the custom script via Shift+2 shortcut
- Adjust Auto trim/split settings (typically 250 milliseconds for silence detection)
- Process gaps with -0.1% multiply setting
This script has been an incredible time-saver—you’ll quickly understand why once you start using it.
2. Removing Filler Words
Utterances like “um,” “uh,” and “like” require judgment about when to remove them.
When to Remove
- Isolated filler words with distinct waveforms
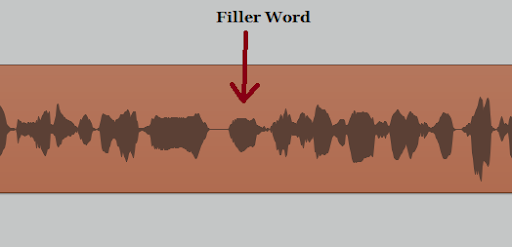
- Filler words that interrupt natural speech flow
- Extended “uh” sounds before answers
When to Preserve
- Filler words embedded within phrases (removal causes jarring tone shifts)
- Brief hesitations that sound natural
- Situations where removal would make speech feel robotic
Technique
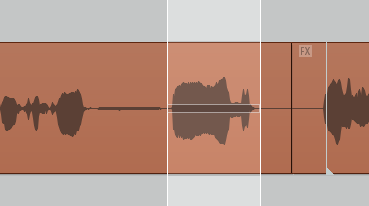
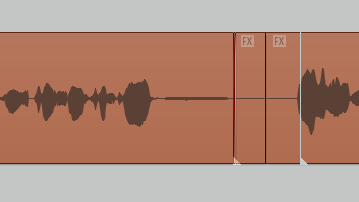
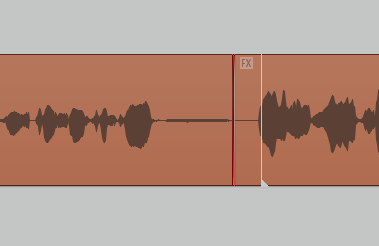
Use ripple editing (X shortcut) with crossfades for seamless results. Select the filler word with a small margin on either side, then execute.
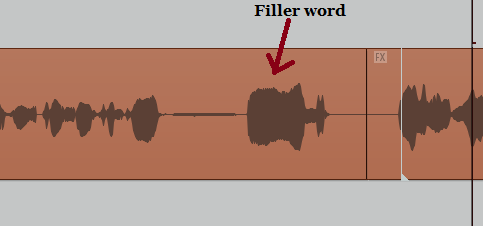
Remember: The best editing is that which you don’t even notice at all.
3. Debreathing
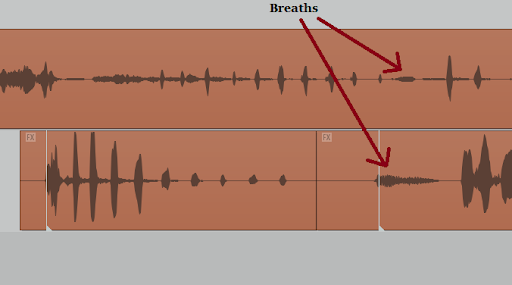
Two approaches handle breathing sounds:
Automated Approach
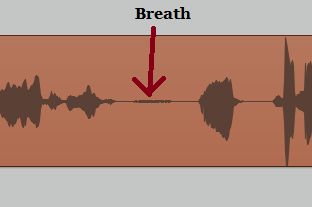
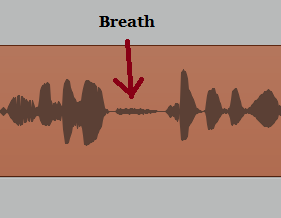
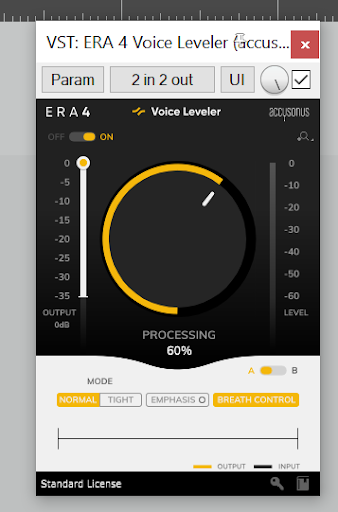
Voice Leveler plugin softens most intrusive breaths automatically. This handles the majority of cases without manual intervention.
Manual Approach
Use the “Breath Less” action (A shortcut) to reduce volume by -10dB on:
- Prominent breaths
- Nose sniffles
- Plosives that slipped through
When to Use Manual Debreathing
| Breath Type | Action |
|---|---|
| Harsh or wet-sounding | Manual reduction |
| Natural inhalations after laughs | Preserve |
| Gasping breaths | Manual reduction |
| Quiet, natural breathing | Leave alone |
4. Other Common Edits
Things to Remove
- False starts — Rephrased or abandoned sentences
- Lip smacks — Involuntary mouth sounds
- Coughing, sneezing, sniffling — Unless relevant to content
- Affirmations over others — “Yeah,” “mhmm” spoken while someone else is talking
- Obvious errors — Factual corrections, audio glitches
How to Approach Them
Each type requires similar technique: select the offending audio, use ripple edit (X) to remove and close the gap, then listen back to ensure natural flow.
5. Maintaining Room Tone and Noise Floor
Consistency throughout the episode is crucial for professional sound.
The Principle
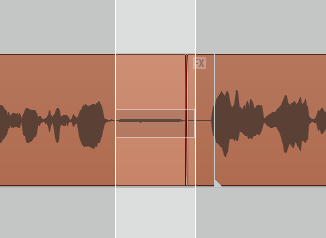
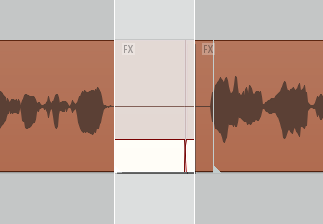
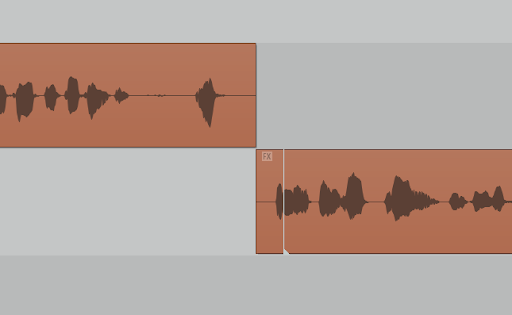
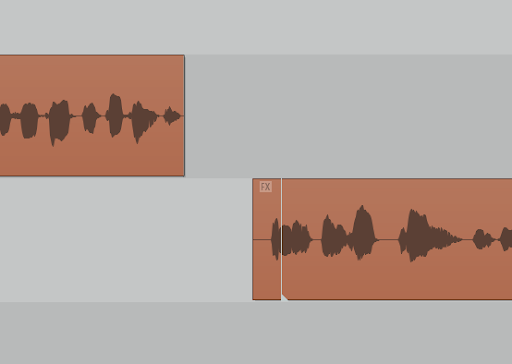
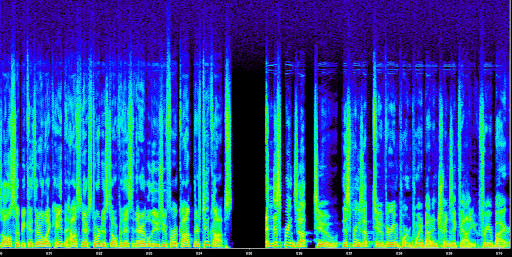
Every moment should contain audio from at least one track to maintain consistent background noise. Jarring silence stands out more than subtle room tone.
Technique
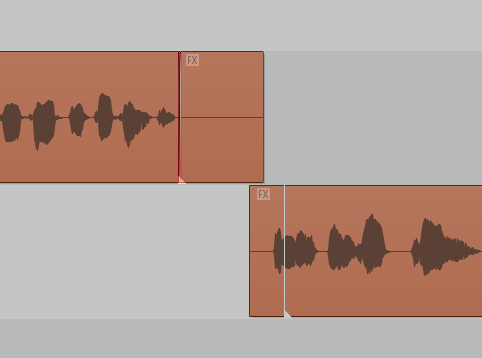
Fill gaps by extending adjacent audio rather than creating dead space. This maintains the “noise floor” and prevents that awkward “dropout” sound that screams amateur editing.
Practical Example
If you remove a long pause between speakers:
- Don’t just delete the silence
- Extend the previous speaker’s room tone slightly
- Or use the next speaker’s pre-speech room tone
- The goal is seamless, consistent background presence
Key Takeaways
| Technique | Shortcut | Purpose |
|---|---|---|
| Ripple edit | X | Remove with auto-close |
| Always delete | Z | Remove without affecting other tracks |
| Dead air script | Shift+2 | Bulk silence removal |
| Breath reduction | A | Manual debreathing |
Conclusion
Practical experience combined with these theoretical foundations enables effective podcast editing development. The techniques you’ve learned across this three-part series will serve you well as you develop your ear and efficiency.
Remember: Over-editing often sounds worse than natural speech with minor imperfections. Trust your ears, and when in doubt, leave it in.
Prefer to focus on content instead of editing? Once you’ve mastered the basics, our production team can handle the heavy lifting while you focus on content.