This comprehensive guide explains how audio compression works for podcast editing, addressing what we’ve found to be widespread misunderstanding among podcasters about this essential tool.
In This Guide
What Compressors Do
Compressors reduce the gap between loud and quiet parts of audio. They do this by bringing down the loudest parts of your signal (the beginnings of words and sentences, puh and tuh sounds, etc.), so that there is less dynamic range.
This approach allows podcasters to amplify entire tracks further before audio distortion occurs, resulting in more consistent, professional-sounding audio.
Core Parameters
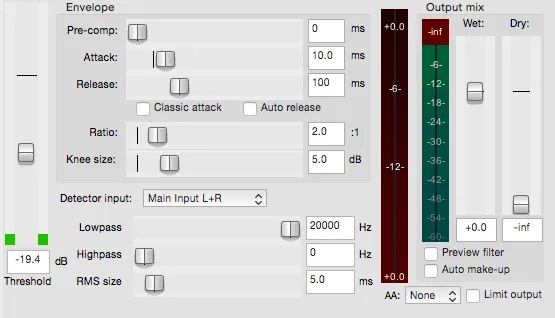
Understanding these five essential compressor settings is crucial:
Threshold
The volume level at which compression begins. Audio below this level passes through unchanged; audio above it gets compressed.
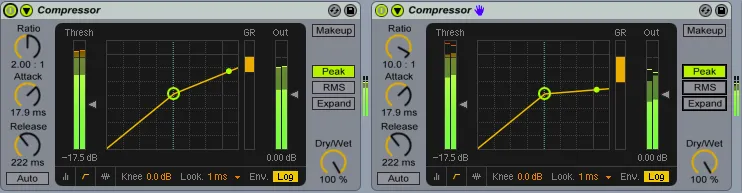
Ratio
Determines compression strength. For example:
- 2:1 ratio — Input must exceed threshold by 2dB to increase output by 1dB
- 4:1 ratio — Input must exceed threshold by 4dB to increase output by 1dB
- Higher ratios — More aggressive compression
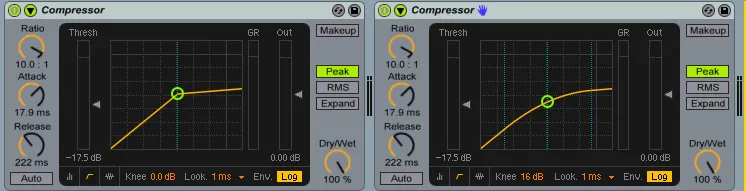
Knee
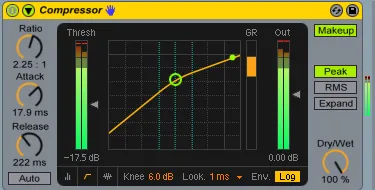
Smooths compression application around the threshold point:
- Hard knee — Compression engages abruptly at threshold
- Soft knee — Gradual transition into compression
Attack
Response speed after audio crosses the threshold. Faster attack times catch transients immediately; slower attack times let some punch through.
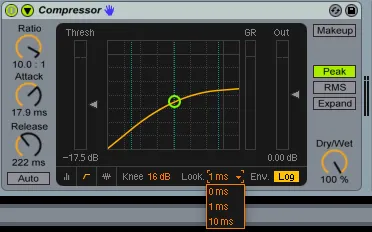
Release
Duration compression continues after audio drops below threshold. Too fast creates pumping; too slow causes unnatural sustained compression.
Practical Implementation
We recommend using multiple compressors working together rather than one aggressive compressor. Our typical workflow employs three compressors at 2-3dB gain reduction each, positioned strategically around EQ processing.
| Stage | Gain Reduction | Purpose |
|---|---|---|
| First compressor | 2-3 dB | Catch peaks before EQ |
| Second compressor | 2-3 dB | Smooth dynamics after EQ |
| Third compressor | 2-3 dB | Final polish and consistency |
Why Multiple Light Compressors?
- More transparent sound than aggressive single-stage compression
- Preserves natural vocal dynamics
- Reduces artifacts and pumping
- Easier to dial in optimal settings
Recommended Tool
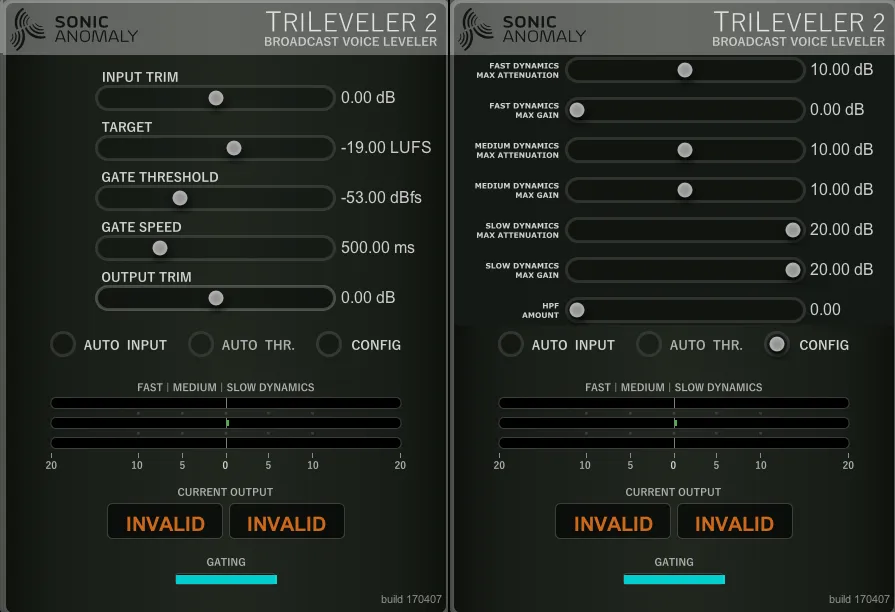
For beginners, Sonic Anomaly’s TriLeveler 2 is an accessible option that manages three compressor speeds automatically. It’s free and takes much of the guesswork out of compression settings.
Signal Chain Placement
Position your compressors thoughtfully in the signal chain:
- Noise reduction/gating — First, remove unwanted sounds (see our podcast noise reduction guide)
- Peak-controlling compression — Tame transients before EQ
- EQ — Shape your tone (see podcast EQ settings guide)
- Tone-smoothing compression — Polish and consistency after EQ
- Limiting — Final safety net
Common Mistakes to Avoid
- Over-compression — Squashing all dynamics makes audio fatiguing to listen to
- Ignoring the meter — Watch gain reduction; 2-3dB per stage is usually plenty
- Wrong attack/release — Listen for pumping or unnatural sustain
- Compressing before cleaning — Always denoise first
Key Takeaways
- Compression reduces dynamic range, allowing for louder overall levels
- Multiple light compressors sound better than one aggressive compressor
- Position compressors around your EQ strategically
- Use tools like TriLeveler 2 to simplify the process
- Always listen critically—your ears are the best judge
Want broadcast-quality audio without the learning curve? If mixing and mastering isn’t where you want to spend your time, Podigy handles the entire post-production process. Or learn how Podigy handles production so you can focus on your message.